Supplies needed:
- 1/4" wide ribbon
- Alligator clips
- Embroidery thread or sewing machine thread OR unflavored waxed floss
- More ribbon for the bow part of the clip
- Hot glue gun
- Beads (optional)
- Sewing needle
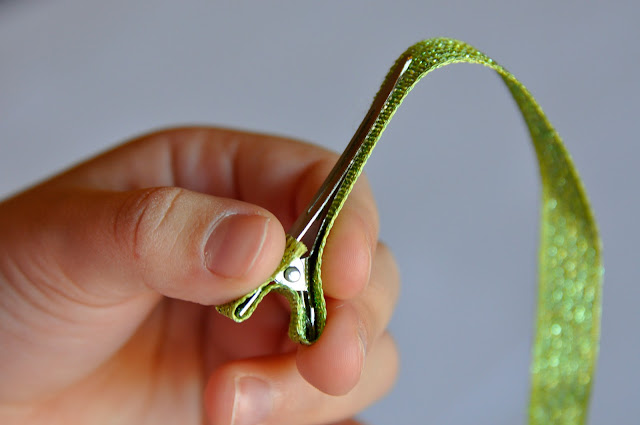
Step 1: Hot glue a straight ended piece of 1/4" ribbon to the finger grip end of the alligator clip on the BOTTOM prong. The bottom is the part of the clip that's straight from end to end.
Step 2: Hot glue the ribbon to the inside of the finger grips.
Step 3: Hot glue the ribbon to the top prong of the clip.
Step 4: Measure how much ribbon you'll need to cover the underside of the top prong and cut off straight.
Step 5: Take the ribbon you want to use for your loops and tie it to your clip next to the finger grips (you can use embroidery tread, sewing tread, or even dental floss....). I just used one knot.
Step 6: Fold up a loop of ribbon. Wrap your thread over the ribbon and between the top and bottom prongs of the clip. I wrap it twice around and pull it tight.
Step 7: Repeat Step 6 four more times.
Step 8: Thread your needle with the end of your left over thread and run back through your thread loops.
Step 9: Tie off your thread using the stub from your first knot.
Step 10: Clean up. Cut your ribbon ends at a nice angle and fix them from fraying (I use my hot glue gun, but also no-fray spray would probably work or simply melting the ends a little bit with something...hot).
Step 11: Hot glue the ribbon end from Step 4 to the underside of the top prong. Cut off the excess ribbon.
And voila! You're done!
You can hot glue beads on as well, if you'd like. For this blue one I used sheer fabric cut into 1/2" strips and ribbon for the bow so that it would match Madeline's costume.


No comments:
Post a Comment