
We made these wheelchair bags to take with us for our Activity Days trip to the Pocopson home in December.
Here's a quick tutorial!
What you'll need:
~ A sheet of 8 1/2 x 11 inch paper (This will be your template)
~ Approx. 1/3 yd of Main fabric
~ Approx. 1/3 yd of Lining fabric
~ Thread
~ Sewing machine
~ Scissors
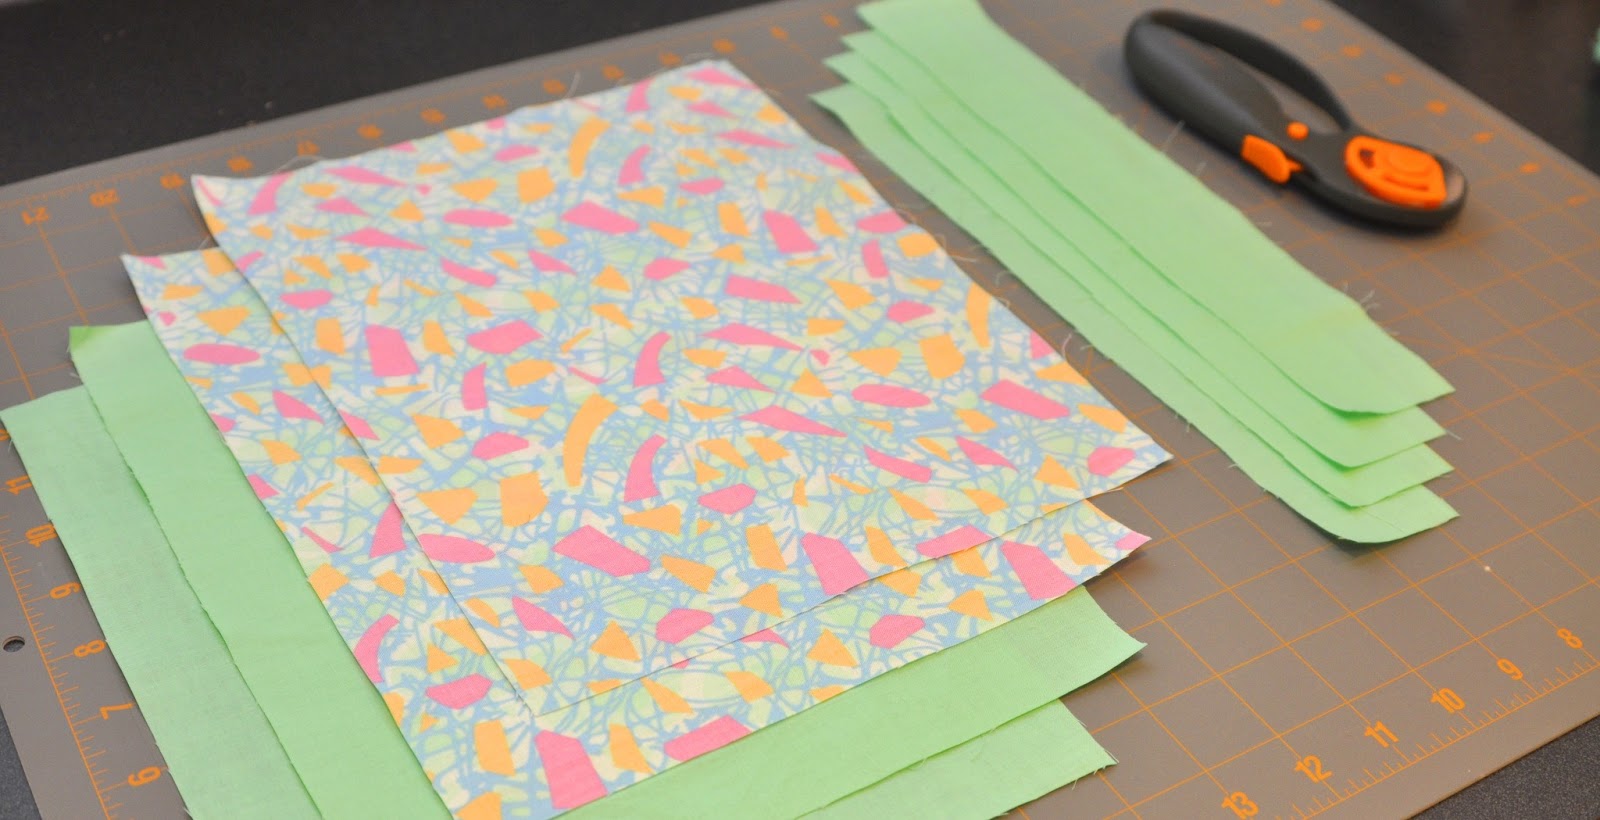
Step 1: Using the sheet of paper as a template, cut out two rectangles from your main fabric and two rectangles from the lining fabric.
(This fabric reminds me of the 90's......)

Step 2: From the remaining fabric (main or lining) cut four strips 2 inches wide x 12 inches long.

Starting at the folded side of one end, sew across and down the strip of fabric with a 3/8 inch seam allowance.


Clip corners and turn inside out. (I used a wooden chopstick for this step...It was a perfect tool.)

Press straps.

Step 4: Bag - with right sides together, starting with a short side, sew three sides of the rectangle using a 1/2 inch seam allowance. Repeat with the lining fabric.


Press the seams flat near the opening of each pouch.

Clip corners.

Step 5: Turn the sewn lining fabric pouch right side out.

Insert it into the main fabric pouch.

Sandwich and pin the straps between the main fabric pouch and lining pouch, two at each end. Make sure they're lined up with one another. The length of the strap should be tucked between the two layers.


Sew around the edge of the bag with a 1/2 inch seam allowance, leaving a 1 inch opening for turning. I also back-stitched at the start and finish AND at each strap for reinforcement (optional, of course).


Step 6: Gently turn the bag inside out.


Stuff the lining inside the bag. Pin or press the edge around the bag opening.

Sew 1/8 inch from the bag opening around to close the hole.

Press.

(Demonstrating the bag's use on the girl's shopping cart....)

Done!

No comments:
Post a Comment