Wednesday, June 15, 2011

Construction Paper Flower Tutorial


For my first official Activity Days activity we made these construction paper flowers.

Here's what you'll need:

A hand (you should have one of those, right?)
Construction paper
Pipe cleaners
Tape
Something to trace with and add some color (Crayons, markers, pencils, etc.)

Step 1: Put your hand on the paper and trace around.


Step 2: Cut out your traced hand.


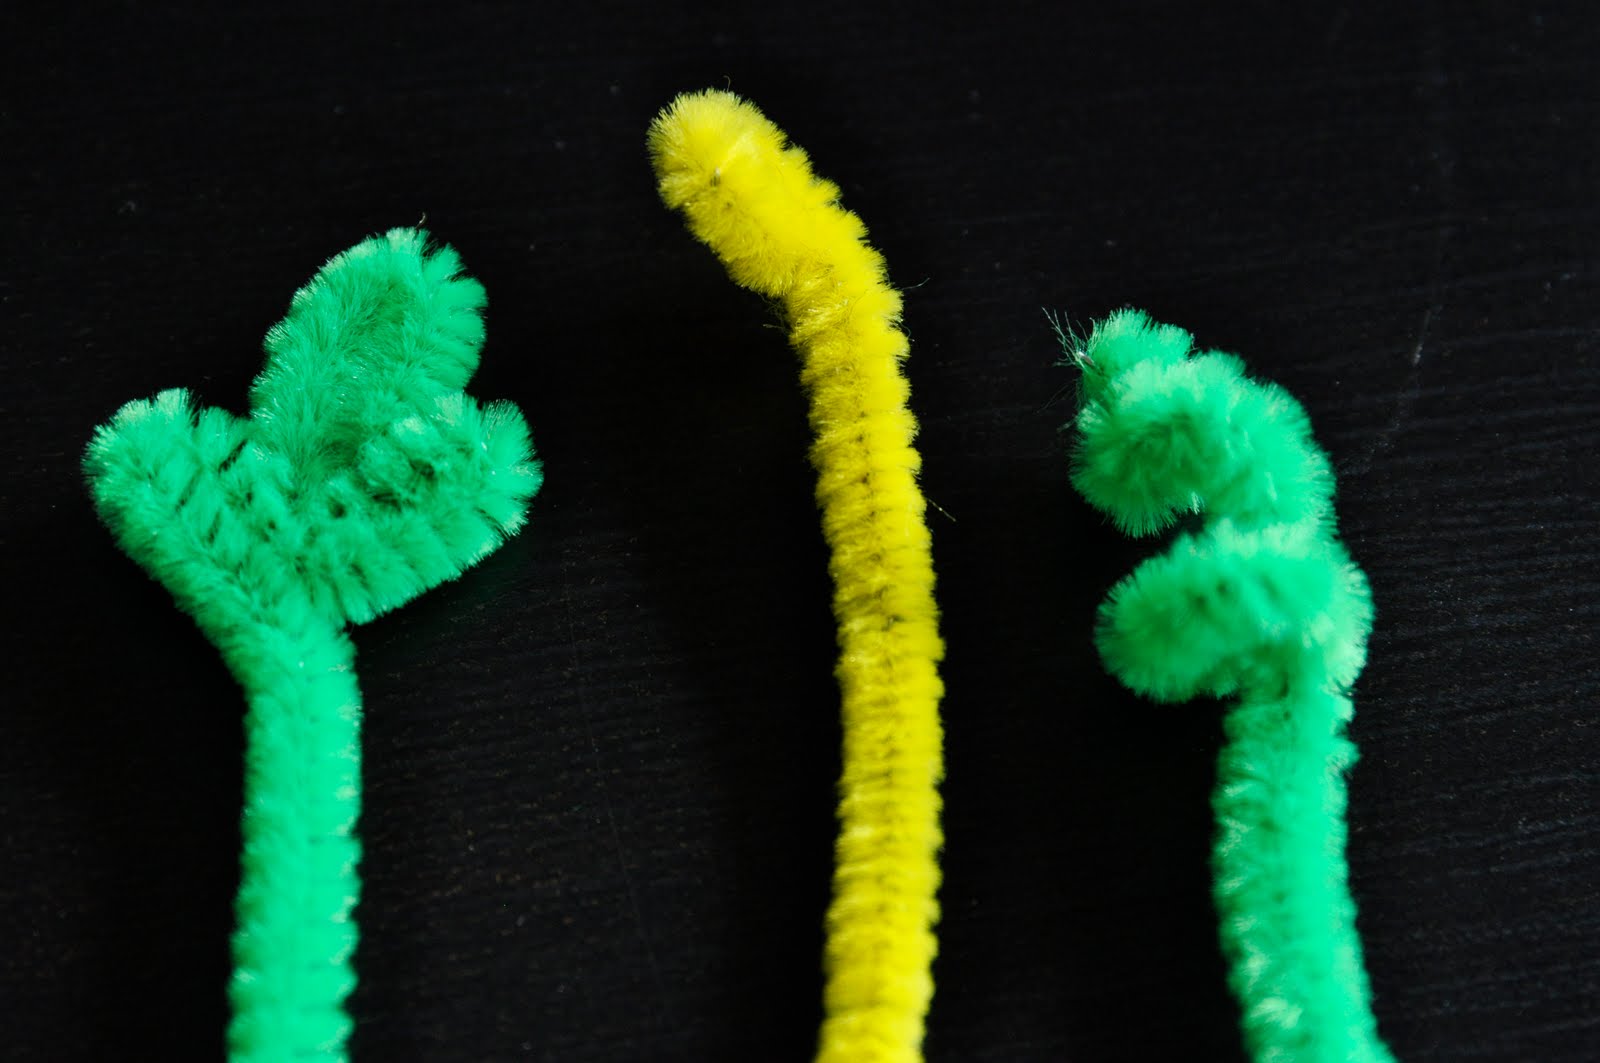
Step 3: Take your pipe cleaner and make a fun design at the end

OR twist several colors together and make your stem colorful!

Step 4: Take your crayon/marker/whatever and roll the fingers around it to give them a curl.


You could also color the petals at this stage if you'd like.


Step 5: Start rolling the pipe cleaner with the paper hand starting at the corner at the wrist.


Step 6: Tape at the base of the flower when finished.


My little helper with the finished product.

I also tried a different flower style by making two lily patterns and layering them:


The only difference in the method is that I attached the the two layers together with tape before I rolled them onto the pipe cleaner.


Enjoy your beautiful bouquet!

Friday, June 3, 2011

Easy Silk Flower Brooch Tutorial

Here's a SUPER EASY project to jazz up your wardrobe....silk flower brooches.


I went to Joann's and got a fake flower for $3. I cut off the stem and a leaf. Then I used a hot glue gun to re-attach any stray petals on the back of the flower and the leaf.

I cut out a small circle of felt and glued that on the back of the flower. And then I glued on the pin back(available at any craft store.)


And voilĂ , you're done and you look fabulous!

Tuesday, May 17, 2011

Easy Cap Sleeves

Today I've got an easy way to add some cap sleeves to a sleeveless child's dress. (Note: You could do the same thing with an adolescent or adult dress as well if you can find lace trim wide enough).

I bought this lovely purple dress (pictured to the left, sans the sleeves) on Walmart.com for $5.

Alas, there were no sleeves, but I bought it knowing that I am capable of making sleeves if I put aside my laziness. Still, I really wanted to do this the easiest way possible (read: laziest way possible - I mean, the dress has been hanging in the closet unaltered and unworn for a month).

So to minimize effort, I thought that if I could match the lace trim around the neckline with some trim I have in my lace hoard I wouldn't have to 'make' my own sleeves - I could just sew the lace in place and voilĂ !

And this is what I found in my lace box, right on top:


I thought it was pretty much perfect and I only had to spend a total of two minutes in what I have endearingly christened 'the Pit of Hell' - our storage unit - finding it.

Double win.

I took a few minutes to position it the way I wanted it (you can gather it if you want - I didn't on this one. You can see in the picture that this particular lace already has gathering stitches in it - a lazy sewers dream). I just laid it in there straight and tapered the ends in at the underarms so there wouldn't be chafing.

Tapering under the arms:


I actually sewed it to the little lip on the innermost edge of the hem fold, if that makes sense. It only gave me about 1/8 of an inch worth of fabric to work with so it was pretty tight. But you can't see the stitching from the outside, which is exactly what I wanted!

Serger-like stitch on hem fold:


Front:


Back:


Sweet and perfect. My girl just looks radiant in purple.

Sunday, May 15, 2011

The Infamous Cupcake Hat


Ah, the infamous cupcake hat. I'm told by Stacy that the ones I've made for her two daughters always get compliments (I've made five of these hats so far, I think). To my knowledge, the original site where I found this pattern (several years ago) is no longer up. I've reproduced the pattern below, and subsequently left out all the crap that didn't need to be in there.

It should be noted that the pattern below calls for a red pompom for the cherry. The original pompom I made for my niece fell apart (her doing, no doubt), so I replaced it with a knitted cherry of my own design. The cherry and strawberry design are proprietary (i.e. secret, and what makes my hats special), so alas, you'll just have to make due with a pompom. I also have a blueberry design, but haven't actaully put them on a hat yet (everyone always requests the other fruits).

SIZE 1-4 years.

MATERIALS

Acrylic yarn in the following colors:
Cup: 1 skein gold or tan, Worsted Weight
Frosting: 1 skein pink or cream or brown, Worsted Weight
Cherry: Scrap Red Yarn, preferrably Chunky Size
You'll need: US 7 (4.5 mm) Circular Needle (16") and set of DPNs, OR SIZE TO OBTAIN GAUGE; Large-eyed, blunt needle
Optional: Buttons, scrap yarn, beads, safety pins
GAUGE 16 sts and 22 rows = 4" in St st BE SURE TO CHECK YOUR GAUGE.

Special Stitch: (MN) MAKE NUBBLE - Pull loop through the next st as if to K, then place this look on the left needle next to the original st(2sts). Pull new loop through the second st as if to K, then place loop on the left needle next to the second st (3sts). Repeat twice¡(5sts). BO 4 kwise. The fifth stitch is now on the right needle.

DIRECTIONS
With Cup Color and circular needle, cast on 80 sts. Work in k2 p2 ribbing for 1 row, join in the round and continue k2 p2 for 2 inches. Switch to Frosting Color. K one row. Next row, *K1, MN. Repeat until you made one row of nubbles (40 times total). K until entire piece measures 5 1/2 inches.

Then start the decreases (switch to dpns when necessary): *K 6, k2tog. Repeat from * 9 more times. *K 5, k2tog. Repeat from * 9 more times. *K 4, k2tog. Repeat from * 9 more times. *K 3, k2tog. Repeat from * 9 more times. *K 2, k2tog. Repeat from * 9 more times. *K 1, k2tog. Repeat from * 9 more times. *K2tog. Repeat from * 9 more times. Continue to k2tog until 5 stitches remain. Break off yarn and thread the end through the remaining 5 stitches.

With the chunky red, make a pom pom, about 1 inch wide. Whatever looks best on your cupcake. (You should be able to find a simple pompom tutorial by Googling.)

**NOTE: If making this hat for a child 2 or under be sure to attach the beads, buttons, etc very secure. Otherwise, do not include them.


Mr. grumpy modelling a cupcake.

Saturday, April 30, 2011

50s Style Preschooler Dress

I wanted to make a spring dress for my three year old - it seems to be getting harder and harder to find anything acceptable in the stores - and I had this pattern from the 1950s from my Grandma's house that I wanted to try out. The pattern paper was still in pristine condition - impressive considering it's nearly a senior citizen.

I did a couple of things I've never done before - like buttons. I don't really like how those turned out but I think I've finally gotten over it. An important lesson I've learned - don't make the buttonholes too close to the edge of your fabric. Also, don't work on a sewing project when you're ill.

The other thing I hadn't done before was altering the pattern - I was afraid that the bodice wasn't going to be wide enough so I added an inch. It turns out that it probably wasn't necessary but it looks good so I guess that's all that matters.


I made view #3 - minus the cummerbund and I added sleeves (shorter than the ones pictured in view #1). I also added a lining and the pin-tuck detail to the bottom of the skirt. Side note: I did make a cummerbund - but I didn't like it at all! Then I made a sash which didn't work either. I decided it was good enough as is.

Overall it came out well and I really do love this fabric. Madeline really seems to like it, too.

Wednesday, April 20, 2011

Sun Hats

I've been wanting to make sunhats for the girls for awhile and finally got around to it. Summer is quickly approaching!

I decided to make my own pattern because 1) it's fun and 2) because my firstborn's head has always been in the 99th percentile. Finding a child's hat that fits is a bit of a challenge.

You can buy a pattern, of course - McCall's has some cute ones like here and here.

I made paper test hats out of my patterns until I got it right (newspaper ads work great for this!) - three or four test hats later I had my patterns set.

(Evie wearing a paper test hat which was too small)


Below is Evie's almost finished hat. I added two more rows of stitching on her brim than what you see. We've had so few warm sunny days lately that I took the girls out for pictures before I was done.


Madeline's hat has a fabric flower on it that turned out pretty snazzy. I cut a strip of fabric about 40 inches long and 2 inches wide and finished all four edges with a Serger-like stitch (on my Brother machine it's stitch #6). Then I sewed one gathering stitch down the middle, gathered the fabric as tightly as I could and folded it in half lengthwise. Then I rolled it up and basted the flower base together with a needle and thread and attached it to the hat.


All in all, a fun learning experience. Hats are pretty easy to do if you're looking for a beginner project.