Showing posts with label Accessories. Show all posts

Monday, March 12, 2012

St. Patrick's Day Hair-bow


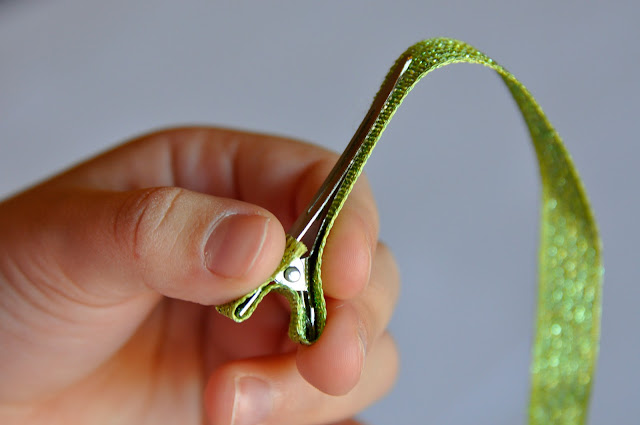
Do you need a spot of green for Saint Patrick's Day? A great idea (you know, if you're under 10) is a little hair bow.

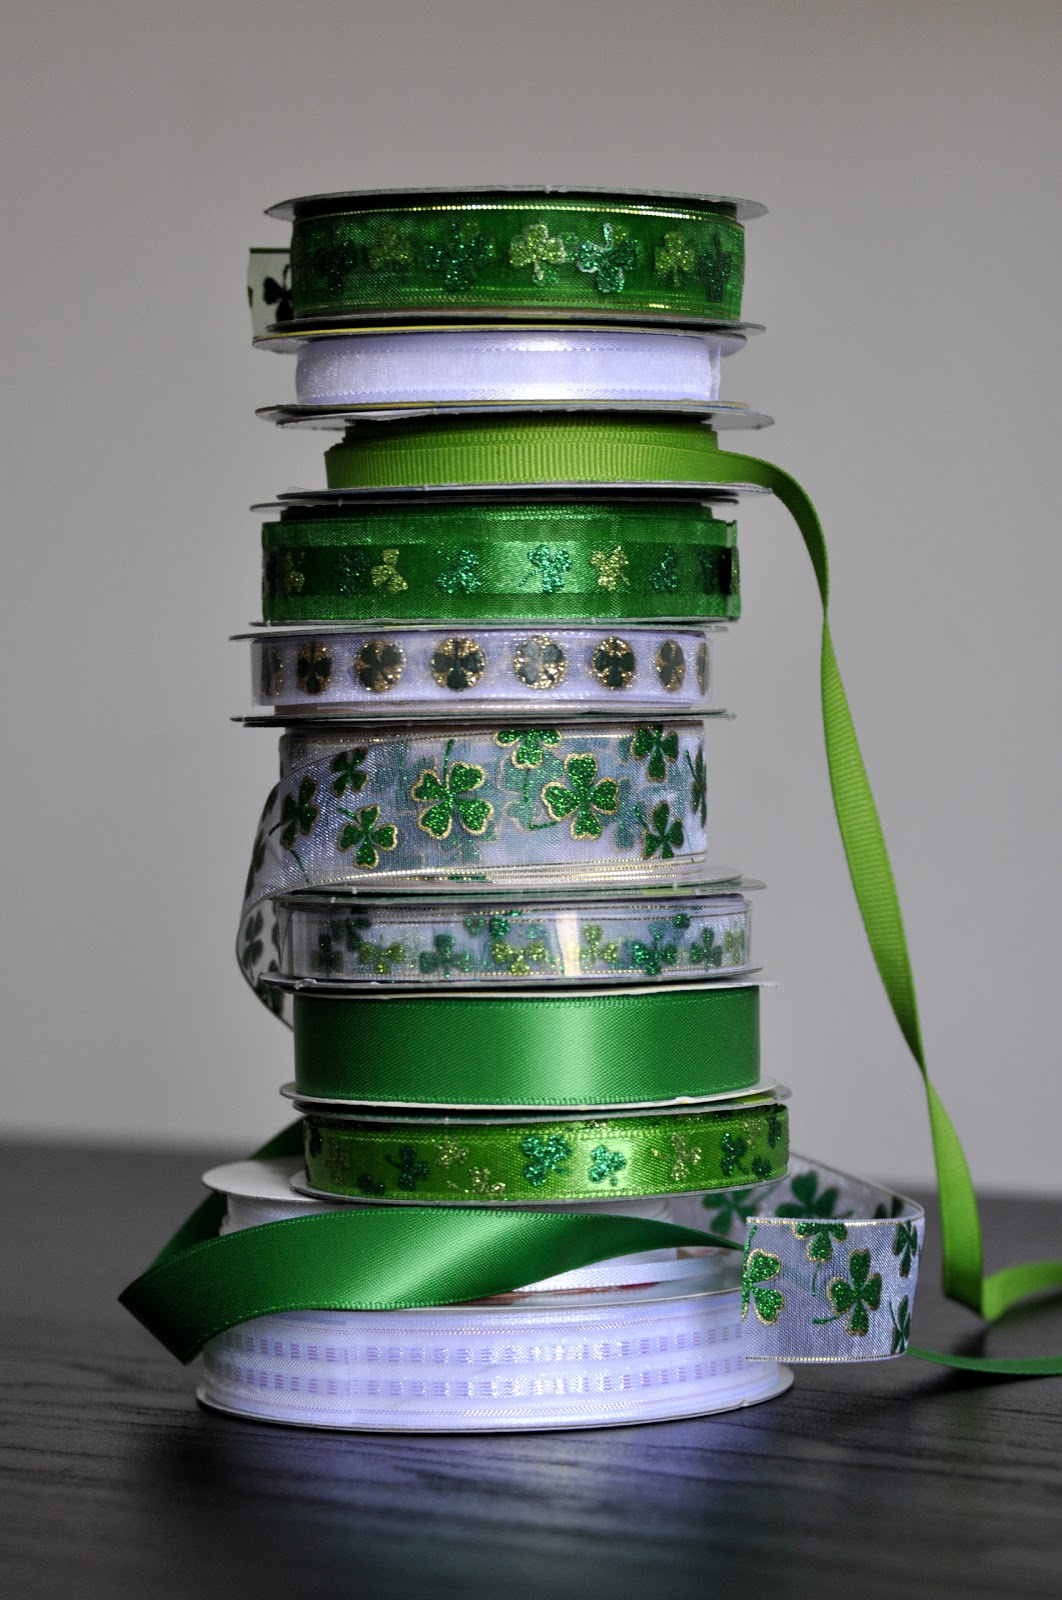
I got some lovely themed ribbon from Joann's for 50% off, and a St. Patrick's Day four-leaf clover lei from Michael's (for $0.59) - which I then harvested for the clover shapes (below).


(Consult any one of a million tutorials out on the internet for a how-to on bow making - you'll need a glue gun, hair-clips, ribbon and about 10 minutes. It's easy and fun!)

The end result is this - a lovely little hair-bow for my little girl.


Happy St. Patrick's Day!


Wednesday, January 4, 2012

A very Kanzashi Christmas

This is the Kanzashi I made for Tammy for Christmas. The middle is a button I got from Joann's. 


I used the same kind of button to finish off the red Kanzashi I made and wore to my husband's Christmas party. I made it a pin to liven up my plain black dress.

This blue one is a hair clip.

Making these is so much fun!

Thursday, December 8, 2011

Kanzashi Fun

Ever since I discovered the existence of Kanzashi flowers a couple months ago, it's been on the top of my To Do list to learn to make them.

And this week, I attempted my first ones! I have to say that it was so fun!

I wanted to make one like this - leave it to me to try the hard ones first.

Anyway, I wanted a classy pin to jazz up my black dress for my husband's company Christmas party. I  haven't decided what I'm going to use for the center yet. I used this old button as a stand in for the pictures.


What do you think? Not too bad, eh?

Tuesday, December 6, 2011

Gryffindor Halloween Costume - Part 4, Tie & Robes


Toddler Tie

I attempted to find a tie I could buy, but finding one for a toddler was impossible.

For the tie, I used this tutorial over at the Purl Bee.


I couldn't find a fabric with stripes that had the right color combination, so using leftover maroon fabric from Evie's robes I just top-stitched stripes onto the fabric after I'd cut out the pattern shapes.

Robes


This is the part of the costume that I thought would be exceptionally difficult. You can't just go out and find a pattern for Harry Potter style wizards robes! That would be too ridiculously convenient!

My initial research led me to this website which shows you how to adapt a standard robe pattern into a Harry Potter style robe....for adults, anyway. I used the same method for a child sized robe.

The pattern I use was Simplicity pattern #2571. I scoured Joann's and the internets for fabric in the right color. I found some at Mood Fabrics - it's cotton poplin and I just love the maroon color. It just so happened that I had recently purchased a Groupon that gave me $30 worth of fabric for $15. Go me!

It took me a couple of days to adapt the pattern, which I thought was going to take me forever (!) - hence why I started in, like, August. But it went surprisingly fast and easy.

After the pattern was finished, I made a basic toile out of white fabric and it looked great! (I love when that happens!) However, that one won't be worn outside anytime soon - white robe with a pointy hood.....yeah, didn't think that one through. I'll have to add trim or lace or something to it in the future....can't let a good robe go to waste.

Here's my oldest modeling the toile.


Some improvements I made to the pattern - I added a lining to the whole thing, a side pocket and a wand pocket on the inside. For the neck closure I used a frog closure that I found at Joann's.

Frog closure:

Wand pocket:

Gryffindor Patch

The little Gryffindor patch was hand embroidered by yours truly. 

(It was surprisingly difficult to get a good picture of this thing)

I found a picture of what the patch was supposed to look like, then scaled it down in Inkscape to the size I wanted. I printed it out and basically just eyeballed the design as I was sewing (I used a separate piece of leftover fabric and a small embroidery hoop). The pattern was just too small and the fabric too black (go figure!) to draw it out before I did it. 

The finished product:


I am very proud of how well these robes turned out.

Can anyone argue against this little girl being the cutest Gryffindor ever? No? I didn't think so.


Thursday, November 3, 2011

Looped Hair Bow Tutorial

As promised, here is the hair bow tutorial with pictures! And explanations!

Supplies needed:
  • 1/4" wide ribbon 
  • Alligator clips 
  • Embroidery thread or sewing machine thread OR unflavored waxed floss
  • More ribbon for the bow part of the clip
  • Hot glue gun
  • Beads (optional)
  • Sewing needle
Step 1:  Hot glue a straight ended piece of  1/4" ribbon to the finger grip end of the alligator clip on the BOTTOM prong. The bottom is the part of the clip that's straight from end to end.


Step 2:  Hot glue the ribbon to the inside of the finger grips.


Step 3: Hot glue the ribbon to the top prong of the clip.


Step 4: Measure how much ribbon you'll need to cover the underside of the top prong and cut off straight.


Step 5: Take the ribbon you want to use for your loops and tie it to your clip next to the finger grips (you can use embroidery tread, sewing tread, or even dental floss....). I just used one knot.


Step 6: Fold up a loop of ribbon. Wrap your thread over the ribbon and between the top and bottom prongs of the clip. I wrap it twice around and pull it tight.


Step 7: Repeat Step 6 four more times.


Step 8: Thread your needle with the end of your left over thread and run back through your thread loops.


Step 9: Tie off your thread using the stub from your first knot.


Step 10: Clean up. Cut your ribbon ends at a nice angle and fix them from fraying (I use my hot glue gun, but also no-fray spray would probably work or simply melting the ends a little bit with something...hot).


Step 11: Hot glue the ribbon end from Step 4 to the underside of the top prong. Cut off the excess ribbon.


And voila! You're done!


You can hot glue beads on as well, if you'd like. For this blue one I used sheer fabric cut into 1/2" strips and ribbon for the bow so that it would match Madeline's costume.

Wednesday, November 2, 2011

Mermaid Halloween Costume - Part 3, Barrettes


I made Madeline matching barrettes for her costume.

I'm going to save myself a lot of grief and explain how I made them in another post - a tutorial even!

For now, here are some pictures:


Tuesday, November 1, 2011

Gryffindor Halloween Costume - Part 2, Scarf & Wand


Gryffindor Scarf 

 This lovely scarf was knitted by Tammy. I asked her to make it 'Evie sized' and she took it from there.


Magic Wand

If you want to make a wand of your own, get a 12 inch or so wooden dowel. You could use Balsa wood, it would be very easy to carve but would be fragile.  I've made a wand before, but I used clay for the handle and I knew that if Evie dropped something like that it would break.

I needed something sturdy so that's why I went with the dowel. I bought some wood carving tools as well and then went at it. It takes a lot of time and patience. I would suggest using gloves to protect your fingers in case you slip.


I carved a flower into the end (though you can't see it well in this picture).


I used 'Mahogony' colored wood stain to make it dark and finished it off with several coats of lacquer.


Surprisingly, Evie clutched onto this thing almost the entire time we were out trick-or-treating. She knows exactly what she's supposed to do with it - poke Mommy in the eye and hit her in the face.

Sunday, October 23, 2011

Gryffindor Halloween Costume - Part 1, Zonko's Bag

Tammy has dubbed this costume 'Evie Potter.'

There will be a time in the not-so-distant future when my baby girl will have an opinion about such things as birthday parties and Halloween costumes. I thought I would strike while we're still in that magical stage of basically doing whatever I tell her to do. Thus, here you have the cutest little Gryffindor, ever.


The only parts I didn't make (or had made) were the shirt ($8 at Old Navy), the shoes (Target hand-me-downs from Madeline), and the black tights (Walmart). So, like with Madeline's costume, I'll be breaking it down into several posts.

My goal this year was to have both the girl's costumes finished by the time we left on our cruise, which was the 1st week or October. And I made it! Except for Madeline's fish bag and barrettes. But, I actually finished Evie's costume first because I was worried about doing the 'hard' part and I wanted to get it out of the way. But more on that later.

Today I'm talking about one of the easier elements which is her treat bag. It says Zonko's on it. For those who aren't familiar with Harry Potter - firstly, have you been living under a rock for the last thirteen years? And secondly, Zonko's is a joke shop in Hogsmeade village.

I wanted it to be bright. Bright stripes, maybe some zigzags. Orange. It took me awhile to find the fabric I wanted and I had to settle for plain old stripes, but they were slanted, so huzzah!

I made this just like you'd make a big tote (I didn't use a tutorial but here's one if you're interested) except I made it toddler sized (I think my fabric dimensions were 9 x 7 or so).


I printed ZONKO's out on a piece of paper and then made the letters super chunky (added 1/4 inch all the way around), then cut them out. Using the cut out letters as patterns, I pinned them on the fabric and cut around them. I top-stitched them on the outer layer of fabric before I assembled the rest of the bag.

And voilĂ ! Evie has a cute little bag to carry around her little wizard treats.

Saturday, October 22, 2011

Mermaid Halloween Costume - Part 1, Fish bag

This year for Halloween, my firstborn wanted to be a blue mermaid.


I'm planning to do a post for each step in the process since I did several things for this costume. The first thing I'm going to talk about is her little fish bag.

When I asked Madeline what kind of treat bag she wanted she said 'A fish!', and I'm like 'Really? You don't want something classier than that?'...

She really wanted a fish.... so after thinking about it for a couple of days, I got to work.

I made a fish pattern and then used fabric scraps and sequins left over from her costume. I whipped it together pretty fast. If you've done lined bags before, it's the same concept, just, err, fish shaped. I hand sewed the sequins on after finishing the bag.

The 'eyes' are buttons I got from my grandmother. They're older than I am.

Friday, June 3, 2011

Easy Silk Flower Brooch Tutorial

Here's a SUPER EASY project to jazz up your wardrobe....silk flower brooches.


I went to Joann's and got a fake flower for $3. I cut off the stem and a leaf. Then I used a hot glue gun to re-attach any stray petals on the back of the flower and the leaf.

I cut out a small circle of felt and glued that on the back of the flower. And then I glued on the pin back(available at any craft store.)


And voilĂ , you're done and you look fabulous!